
7T maintenance – replacing the gradient coil
October 31, 2018
Our 7T scanner recently had a new gradient coil installed so we wanted to show you what happened.
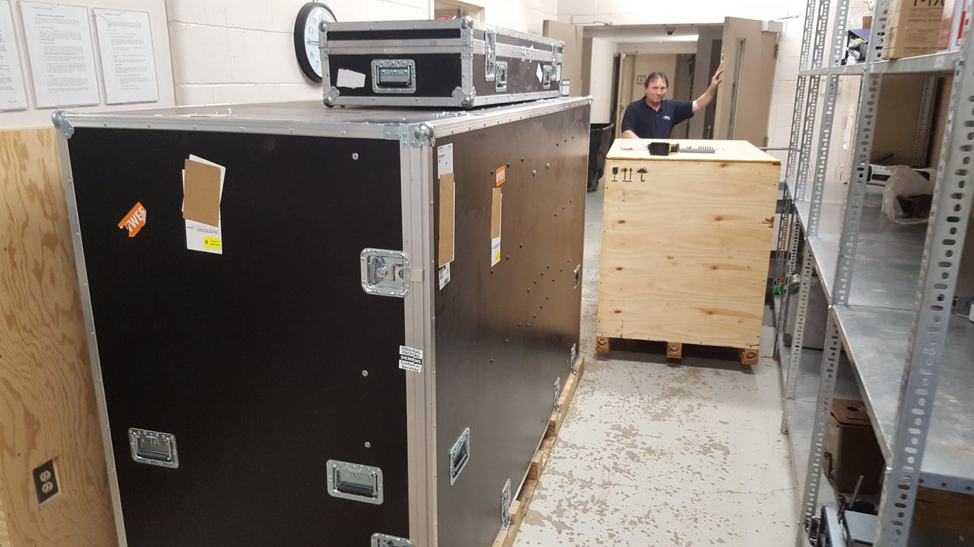
This was the delivery of the installation equipment and new AC84 Gradient coil.
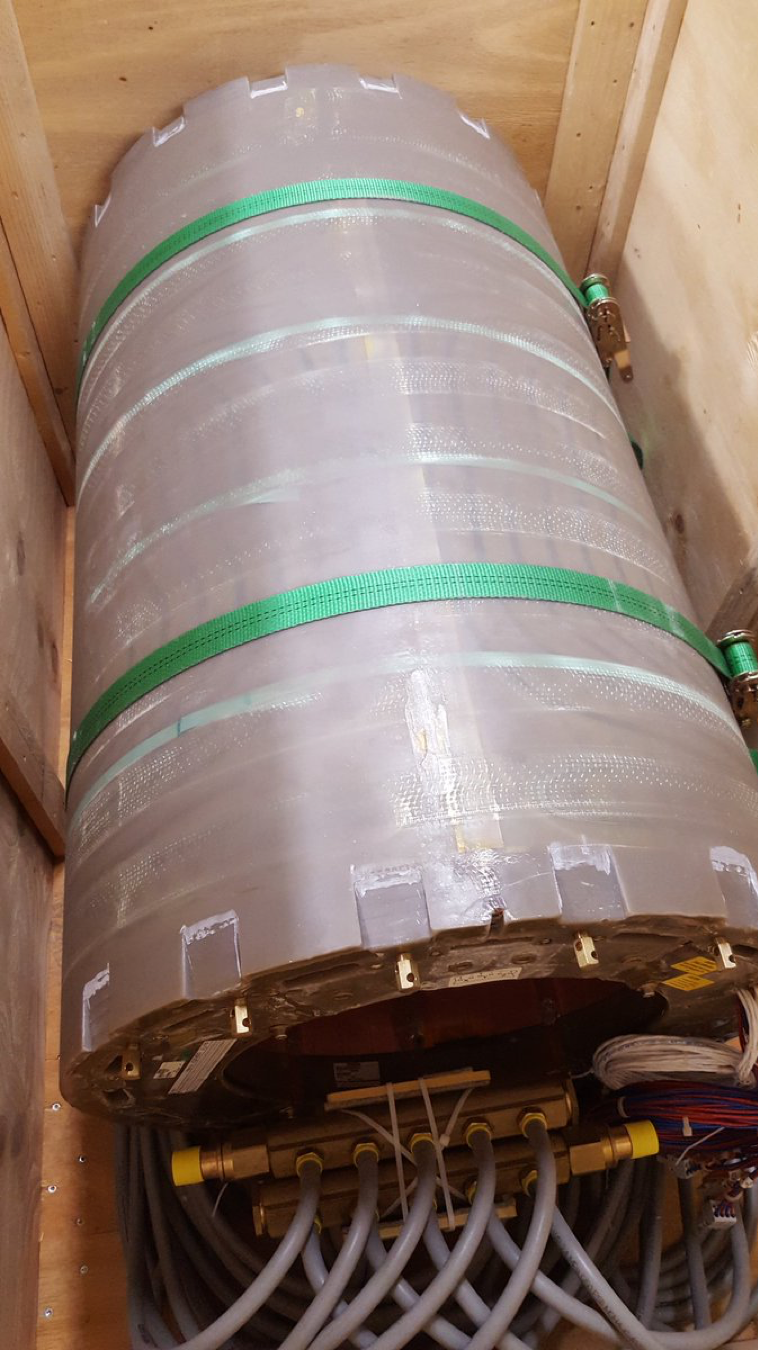
The NEW AC84! We received 2 day delivery from Erlangen to London

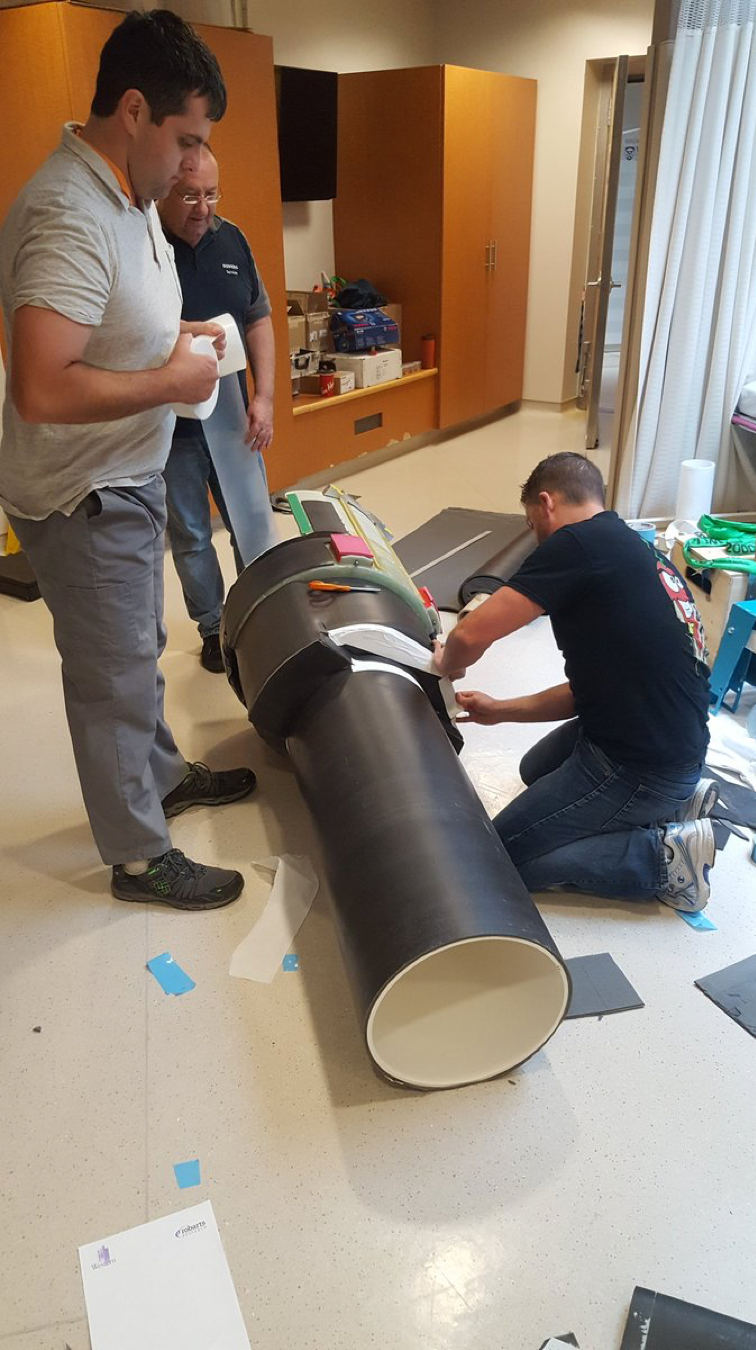
Joe and Martyn discuss installation details with our installation expert. You will see the old gradient coil with Joe.
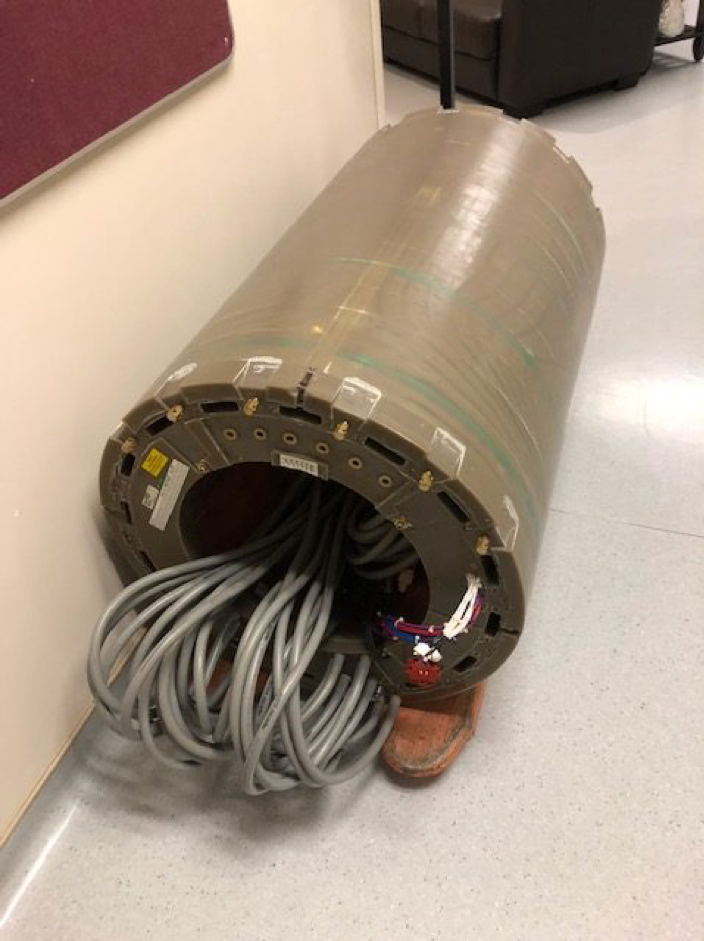
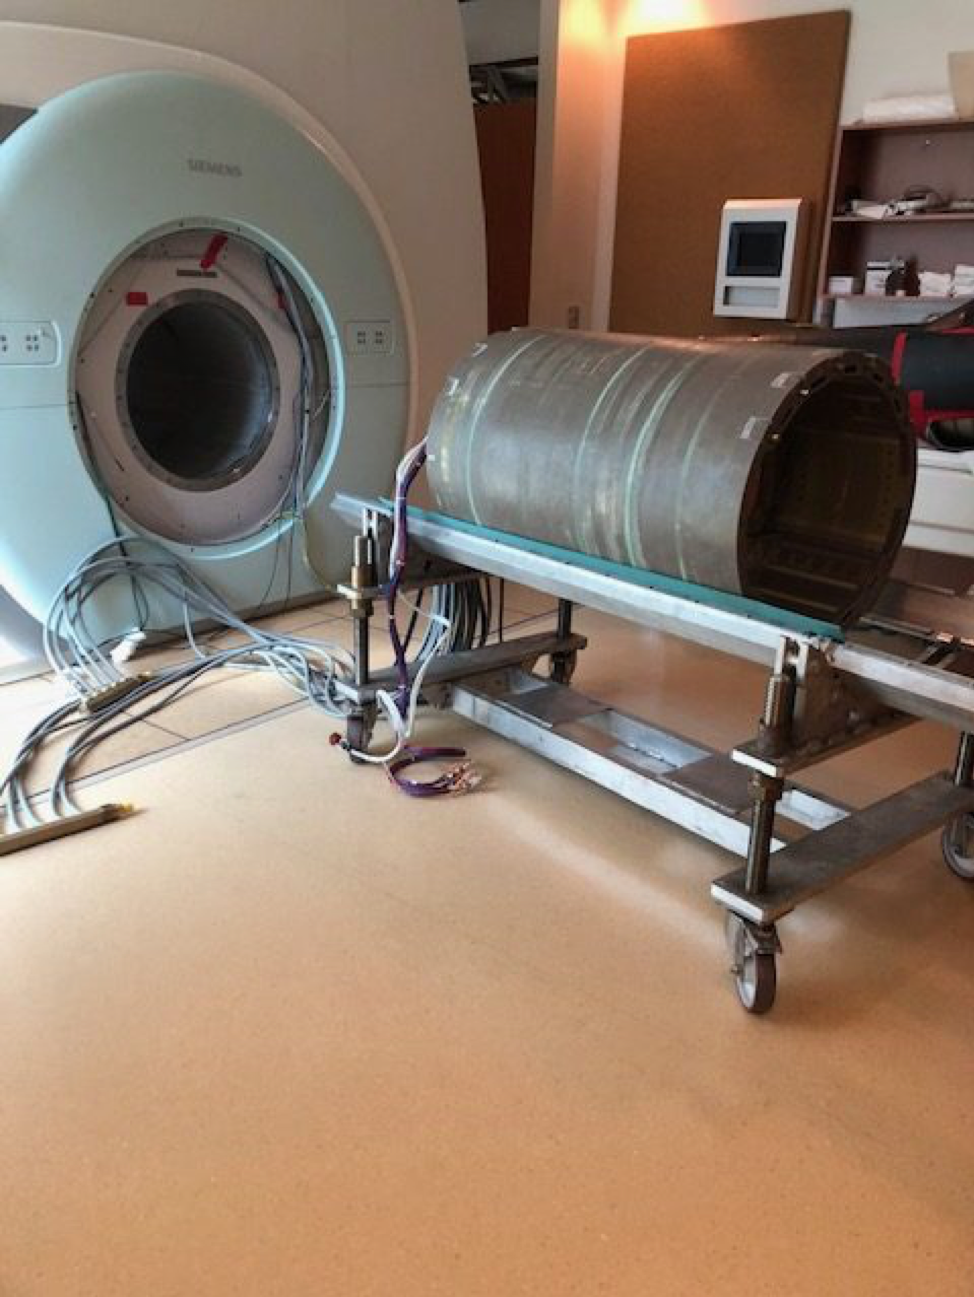
The old gradient coil that was removed and is off for recycling
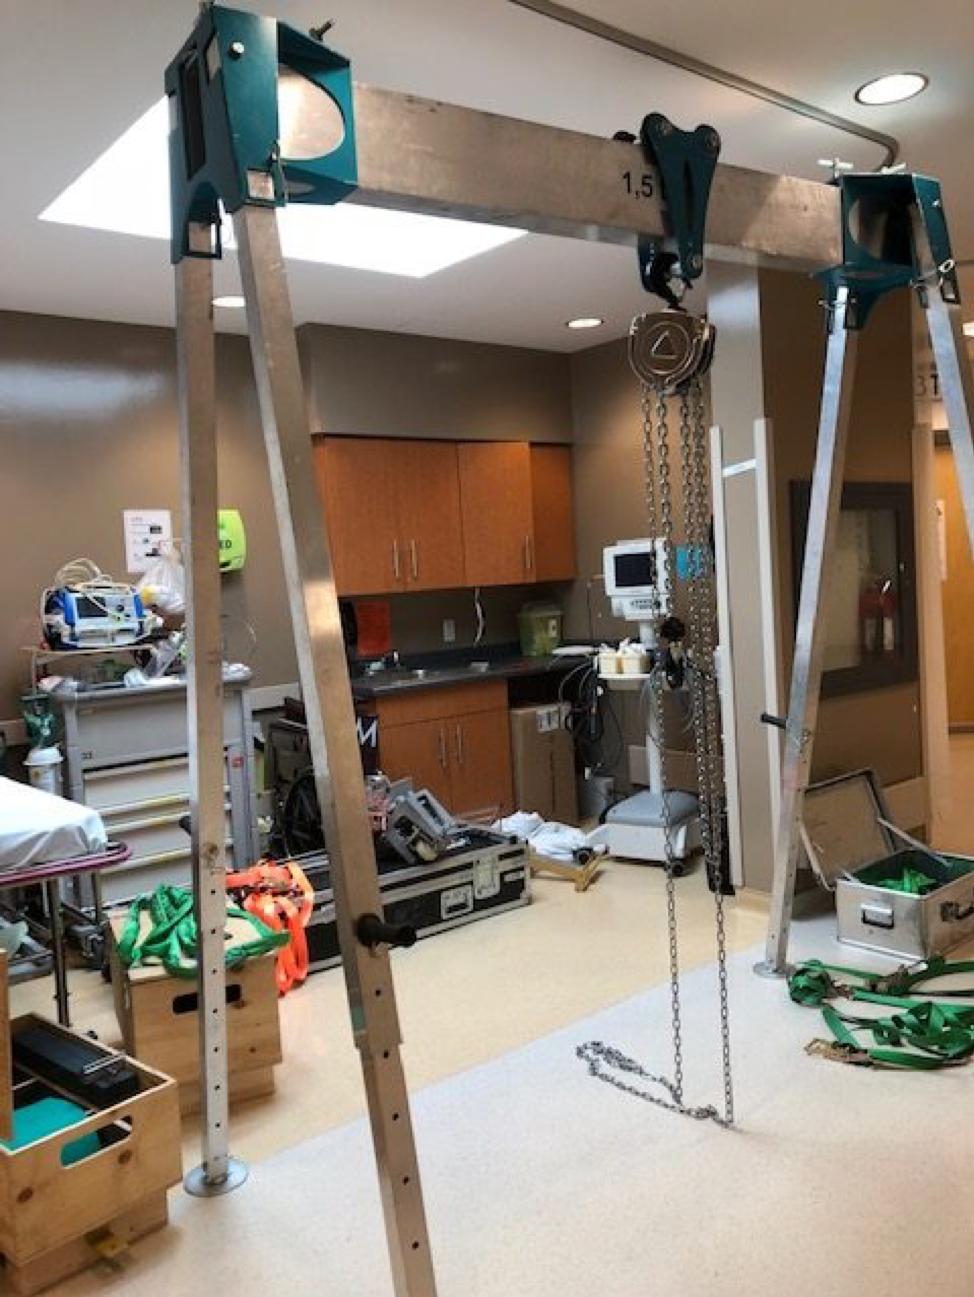
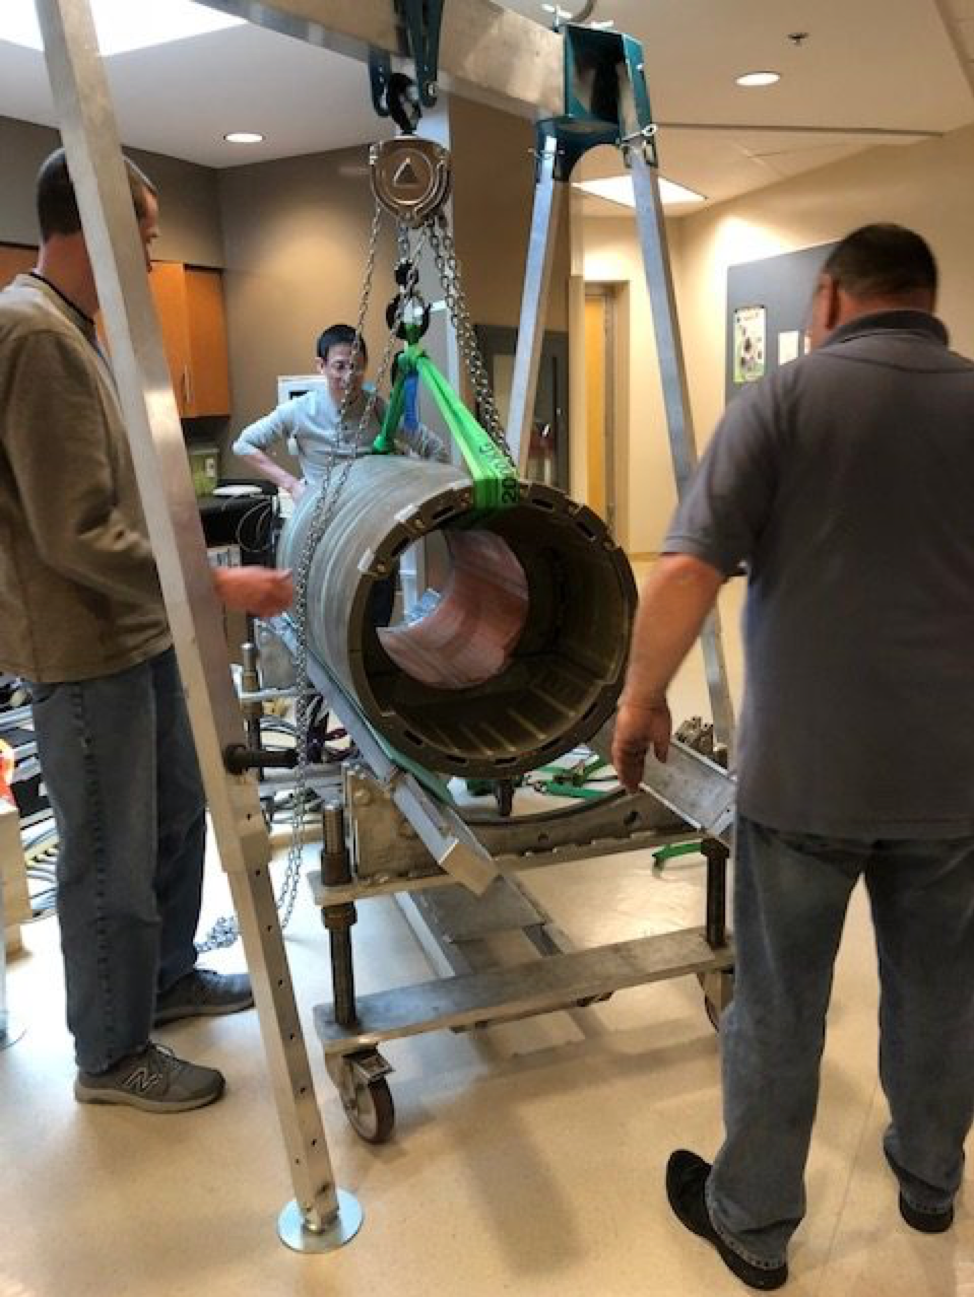
This was the lift that was shipped in to pick up the new gradient coil and set it on the cart to take it into the magnet room to install.
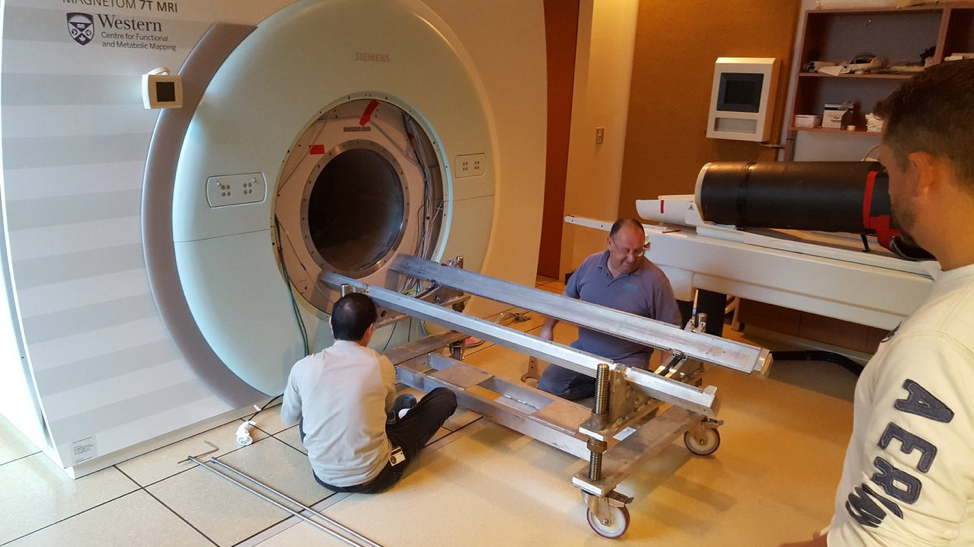
The technicians have to set up this cart height perfectly so that the coil will slide in without correction once it is lifted onto this.
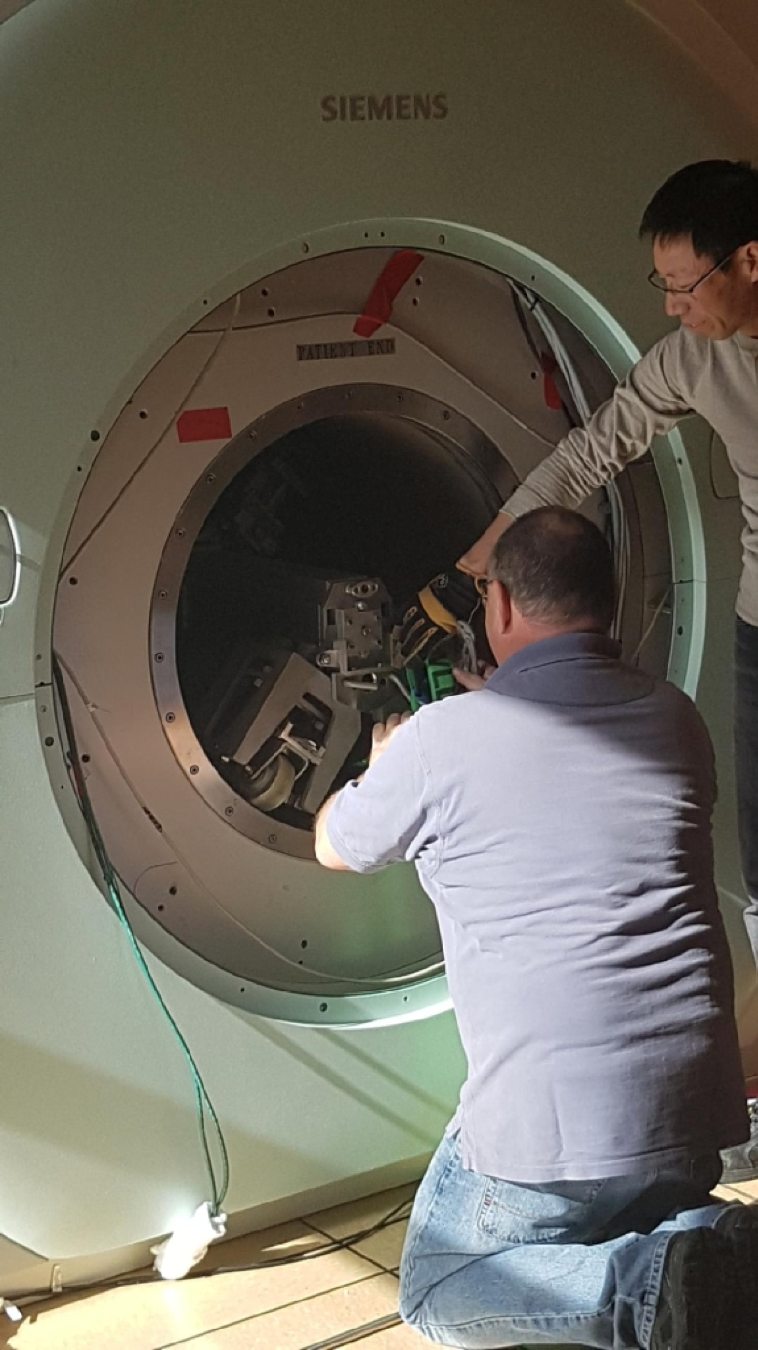
With the cart set at the exact level it needs to be at, the coil must be positioned exactly the way it will be installed in order for it hook up properly and work. This is “eyeballing it” at its finest!
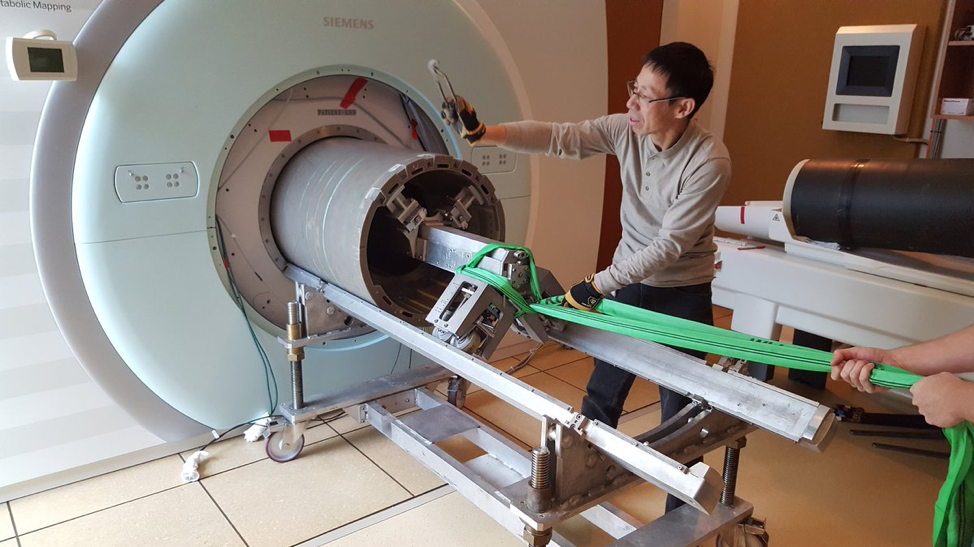
A lot of care and control are needed to ensure the AC84 is positioned properly
Trevor replaced the bore liner with new acoustic insulation. This recuses the noise in the scanner
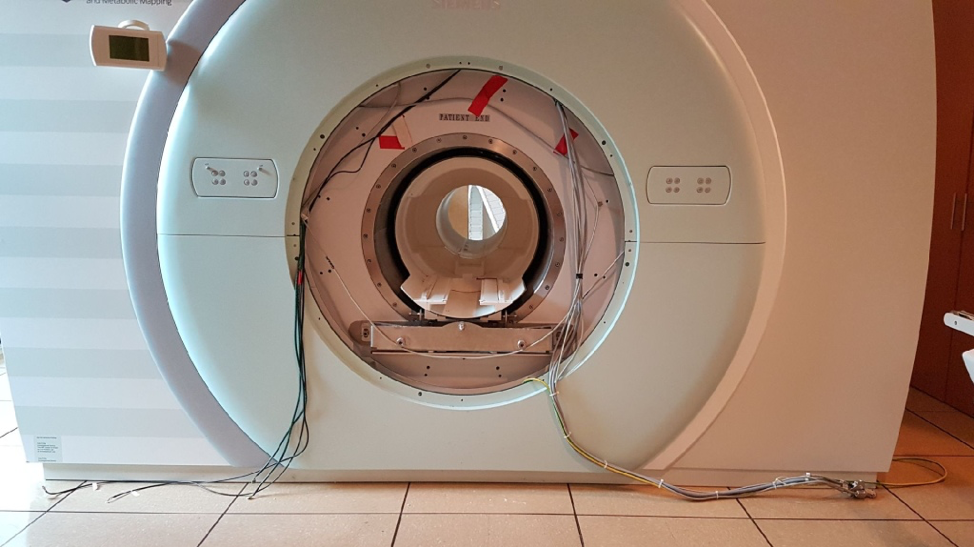
This is what it looks like with the new bore liner installed
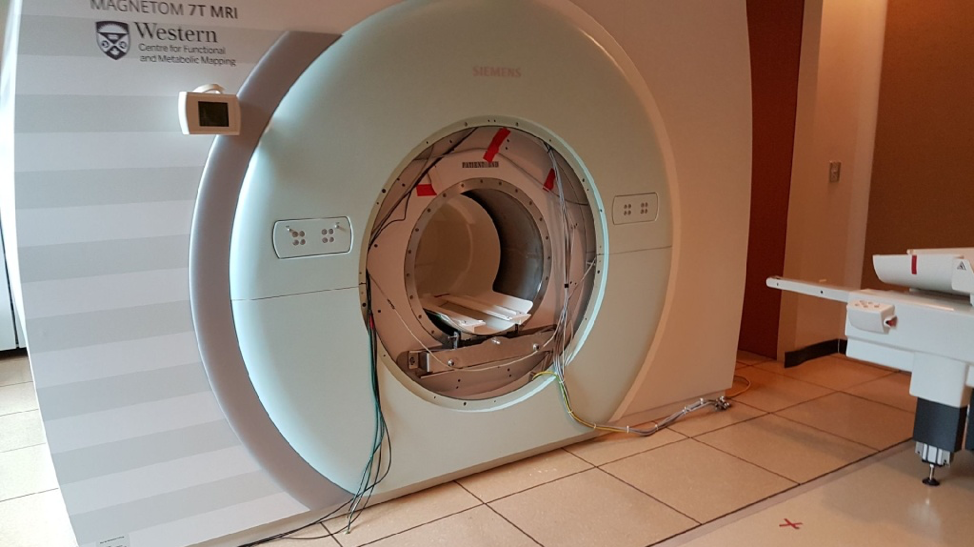
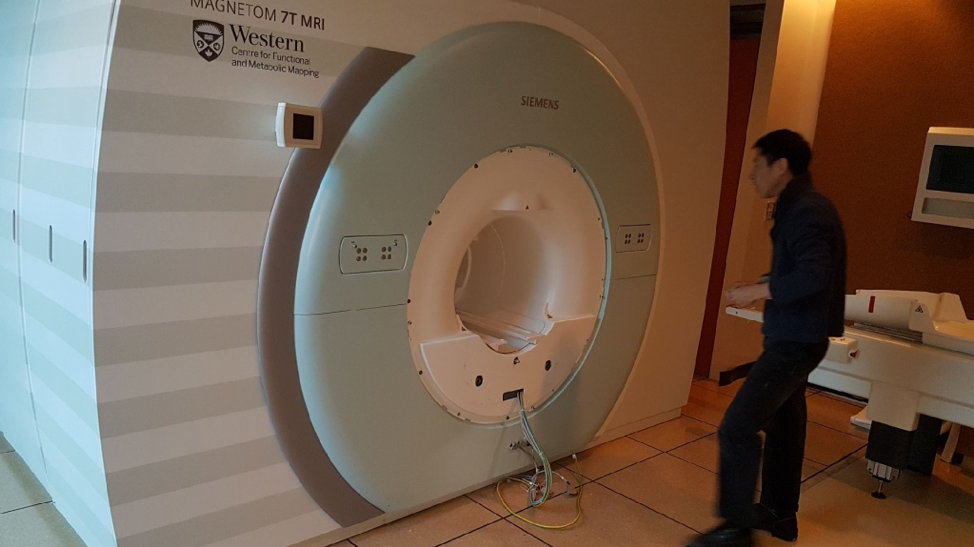
The exterior plates are put back in place
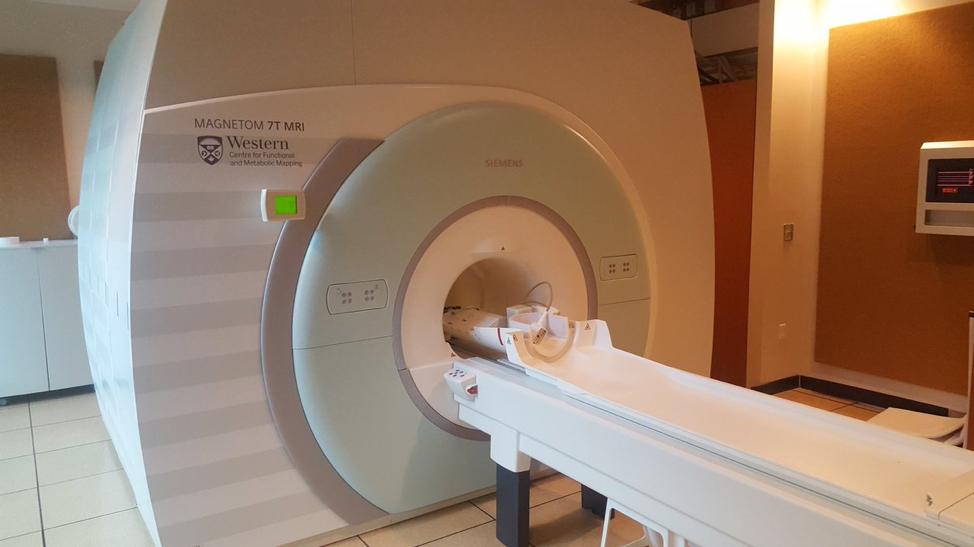
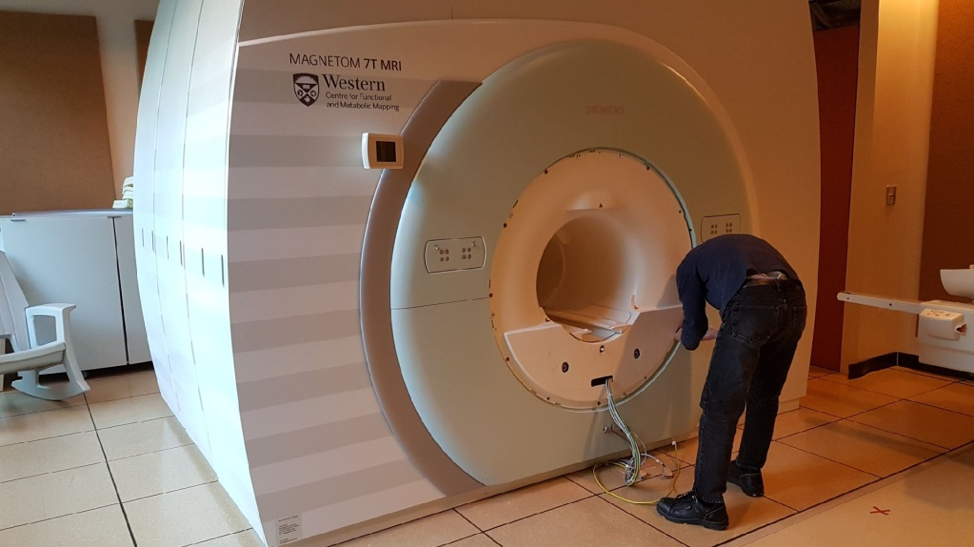
And finally, the bed is put back in place and the wiring reconnected to complete the job


